A leaking garbage disposal can be a frustrating and messy problem to deal with. Not only can it cause water damage to your kitchen, but it also creates an unpleasant odor. The good news is that many common causes of garbage disposal leaks can be easily fixed without the need for professional help.
1. Identify the Source of the Leak
The first step in fixing a leaking garbage disposal is to identify the source of the leak. It could be coming from various areas, such as the sink flange, the dishwasher connection, or the disposal unit itself.
Inspect the connections and pipes carefully to identify any visible leaks or drips. Sometimes, leaks may occur only when the garbage disposal is running, so it’s important to observe it during operation.
2. Tighten Loose Connections
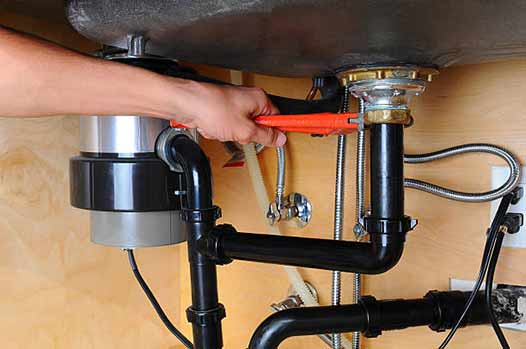
If you notice any loose connections, use a wrench to tighten them. Start by turning off the power to the garbage disposal to ensure safety. Check the flange, dishwasher hose, and drain connections for any loose nuts or bolts and tighten them as needed.
3. Replace the Sink Flange Gasket
If the leak is originating from the sink flange, it might be due to a worn-out gasket. To replace the sink flange gasket:
- Turn off the power to the garbage disposal.
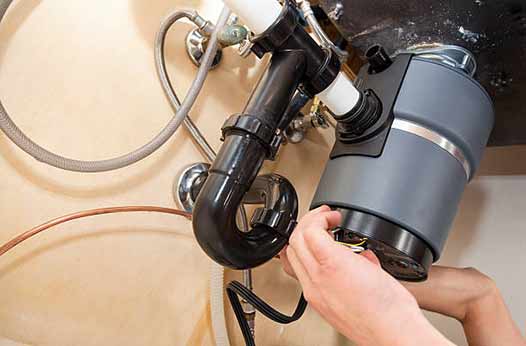
- Disconnect the garbage disposal from the mounting ring under the sink.
- Remove the old gasket and clean the area thoroughly.
- Place a new gasket on the sink flange and reattach the garbage disposal to the mounting ring.
- Make sure all connections are tight and secure.
4. Fix Leaking Dishwasher Connections
If the leak is occurring at the dishwasher connection, it may be due to a faulty or loose hose clamp. To fix this issue:
- Turn off the power to the garbage disposal.
- Disconnect the dishwasher hose from the disposal unit.
- Inspect the hose and the hose clamp for any damage.
- If the clamp is loose or damaged, replace it with a new one.
- Reconnect the dishwasher hose and ensure it is tight and secure.

5. Check the Disposal Unit
If the leak is coming from the garbage disposal unit itself, it might require further examination. Follow these steps to inspect and fix the disposal unit:
- Turn off the power to the garbage disposal.
- Empty the contents of the disposal and use a flashlight to inspect the interior.
- Look for any cracks, holes, or signs of corrosion.
- If you find any visible damage, it may be necessary to replace the disposal unit entirely.
- Follow the manufacturer’s instructions to install a new garbage disposal if needed.
6. Test for Leaks
After fixing the potential causes of the leak, it’s important to test the garbage disposal to ensure the issue has been resolved successfully.
Turn on the water and run the disposal to check for any signs of leakage. Carefully observe the connections and the area underneath the sink to confirm that there are no drips or leaks.
Wrapping It Up
Fixing a leaking garbage disposal can save you time, money, and frustration. By following these steps and identifying the source of the leak, you can take the necessary actions to repair and restore your garbage disposal back to its functional state.
Remember to always prioritize safety by turning off the power before making any repairs or adjustments. If the problem persists or you are unsure about performing the repairs yourself, it’s advisable to seek professional assistance from a nearby plumber.

