
Severe winters and extremely cold weather bring about one of the worst nightmares of the typical homeowner – frozen pipes. It can be easy not to realize that you have them, and they can be hard to locate before it’s too late. And worst of all, the water within a frozen pipe may freeze and expand. This can cause the pipe to rupture and start to leak, leading to a true plumbing emergency. Learning how to thaw frozen pipes properly right now is going to save you a lot of trouble in the long run.
The most common ways that homeowners discover that a pipe has frozen are:
- Turning on a tap and seeing that nothing is coming out
- Noticing that a toilet isn’t refilling after flushing
- Signs on the pipe itself, like an obvious bulge or a thin layer of frost covering the pipe
With this type of plumbing issue, time is an important factor. The best option, of course, is always to get in touch with a professional plumber. However, if you’re simply unable to reach a qualified professional quickly enough, you follow these steps to thaw frozen pipes on your own.
Step 1 – Locate the frozen pipes
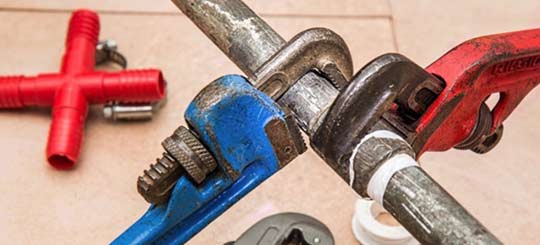
In most cases, it can be hard to locate the frozen pipe. A great option is to open all the faucets in your home. If water can’t reach a particular faucet, or there is one that has a noticeably weaker stream than the rest, you can follow its plumbing lines as they travel away from the fixture. As you go, you can inspect the plumbing with your hands every few feet – a frozen pipe will really feel ice cold. Continue until you locate the affected area. If you see that none of your faucets are getting a good flow of water, the problem may actually be with the main supply pipe. They are most commonly located in the basement or the crawl space on the side of the house that faces the street.
Step 2 – Drain the system
Once you have found and confirmed the affected pipe, it’s time to go to the main water supply valve and turn it off (this almost always means turning it clockwise, but do check out the manual if you have it). Next, you have to open all the sink faucets and tub spouts in your home. This will drain what remains of the water in the system. Remember to flush your toilets as well. Now, it’s time to gather the necessary materials. Get a bucket, a mop, and two or three towels you’re okay with ruining and go back to the frozen pipe.
Step 3 – Apply heat to the frozen pipes
The next step is pretty straightforward. All you have to do is apply heat to the frozen pipe. There are many ways to do this, but if you want to properly thaw frozen pipes, you have to follow one rule – Take your time and apply heat slowly. Doing something like pouring boiling water directly onto the pipe will damage it and cause a burst pipe emergency on the spot.
Using things like hair dryers, heat lamps, and heating pads are all great options. Or you can go for an even easier solution. Pour hot water on some towels and drape them over the frozen spot.
You should also begin the thawing process near the edge of the frozen area and work toward the center. Start on the side closest to the nearest kitchen or bathroom with an open faucet. This way, all the melted water can more easily escape the pipe.
If you can’t reach the frozen pipe directly, for instance, if it’s in the wall, experts from peakservices.com recommend taking a space heater and turning it toward that wall. It will spend a lot of electricity, but the utility bills will be nothing compared to the potential repair costs.
Step 4 – Final checks
Once you are fairly confident that the pipe has thawed, you can return to the main water supply valve. We recommend that you first turn it on partially. Once you’ve done that, you can go back to the pipe and inspect it for any leaks. If it did rupture before you got around to thawing it, turn off the supply again, call a local plumber, and get to work cleaning up. On the other hand, if you got to fix the pipe on time and it seems to be channeling water properly, you can go ahead and turn the water supply on fully. Congrats, you now know how to properly thaw frozen pipes!
How to prevent this from happening again
While knowledge is power, and it’s definitely important to know how to properly thaw frozen pipes, it’s even better not to even be in a situation where you need that knowledge. If you want to prevent a similar situation from happening in the future, you should take the necessary steps to protect your at-risk pipes. There are several simple options available to the average homeowner.
- Insulating your pipes – If you can, you should do this to them. If not, you should at least insulate the ones in the coldest sections of the home. Some examples would be the basement, crawl space, attic, or garage.
- Install a heat tape – This is an electrical device designed expressly to prevent frozen pipes.
- Open the cabinets under your sinks – If you’re not in a situation where you can take on any plumbing projects at the moment, you can at least do this if you know that brutally low temperatures are coming. Doing this will expose the pipes to the warm air of your heated home.
- Open all your faucets and spouts to a trickle – This is also something you should only do in case you know about some severely cold weather that’s coming. This is just meant to keep the water flowing through the pipes.
To conclude
Frozen pipes really are a hassle to deal with. However, by knowing how to properly thaw frozen pipes and taking necessary precautions to prevent them from happening, you can absolutely avoid any real complications. Remember that if you notice that one of your pipes has frozen, chances are there are a few other ones in your home with a similar problem. Check everything you can, and keep an eye out for any signs of a hidden plumbing leak.