
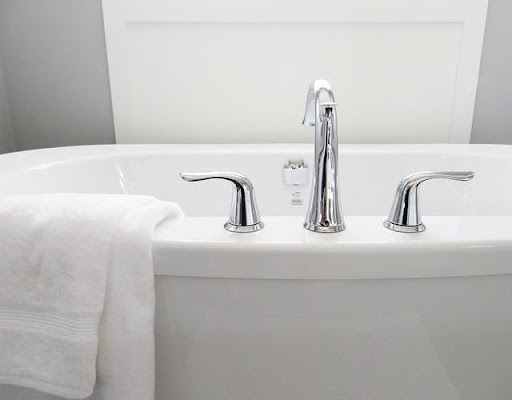
You may have noticed that your home’s faucets no longer look how they used to when you first bought them. Instead of a beautiful chrome exterior, there is an ugly hard whitish deposit around the spout and streaks of the same material running down the sides of the faucet.
This whitish substance is known as limescale. Limescale or calcium buildup is a common problem in areas with hard water. Water is described as hard when it contains a high amount of dissolved minerals, mostly made up of calcium and magnesium compounds.
Hard water is found where groundwater passes through rocks rich in limestone, chalk or gypsum before entering the city’s water supply. Hard water is safe to drink. However, J. Butler Management Company wars the dissolved minerals in it can mess with the plumbing fixtures in your home.
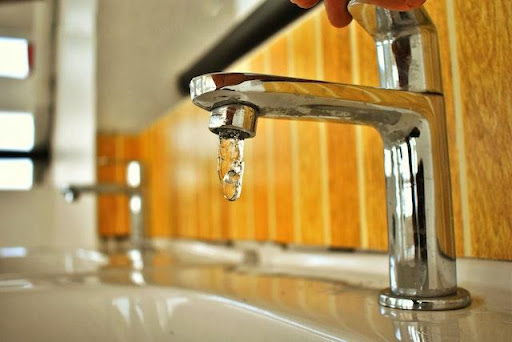
Calcium buildup can impair the appearance of faucets, narrow their internal diameter and even cause corrosion. If there is calcium buildup on your faucets, you do not need to buy new ones; you can easily restore the look of your faucets by removing the buildup.
What can remove limescale?
Some things you need to remove calcium buildup from your faucets already exist in your home. There are also store-bought products you can use.
- Lemon juice: The acid in lemon juice will dissolve the mineral buildup on your faucets. Making enough lemon juice might be a lot of work.
- Vinegar: White vinegar or apple cider vinegar is the best option for removing limescale. The steps we explain later will use vinegar, but other materials can also be used.
- Calcium, Lime, and Rust Remover (CLR): You can buy this from the store. This product is best for cleaning toilets where limescale has formed rings on the waterline.
- Muriatic acid: This is a strong hydrochloric acid-based descaler mostly used in pools. This potent cleaner can hurt your eyes and skin; handle it with extreme caution.
How to remove calcium buildup; a step-by-step guide
What you will need:
- Apple cider vinegar or distilled white vinegar
- Sandwich-sized plastic bags
- Dishwashing soap
- Old toothbrush (with hard bristles, preferably)
- Paper towels (or strips of cotton cloth)
- Rubber bands
- Deep plastic bowl
- Sponge or textured cloth
- Rubber gloves and face mask (if using a store-bought cleaner)
- Wrench and screwdrivers
How to remove calcium buildup on faucets
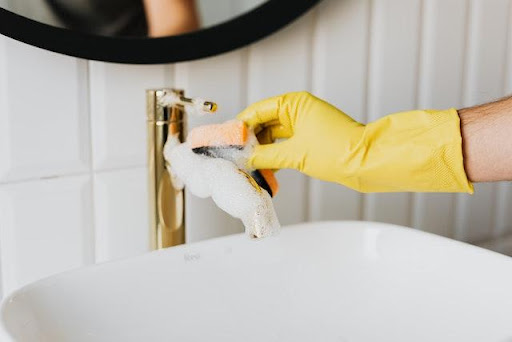
Clean the faucet with soap and water to get rid of any grime on the surface; dirt will reduce the effectiveness of your cleaner. Wipe it down with a cloth.
Note: Vinegar contains a mild acid that can etch natural stone surfaces like marble, granite, etc. If you have natural stone surfaces in your bathroom or kitchen, keep vinegar away from them.
Method one
- Soak some paper towels in vinegar until they are thoroughly wet. Wrap them around the areas of the faucet where there is a limescale, making sure to cover all the areas. If the paper towels don’t feel wet enough, sprinkle some of the vinegar on them. Use rubbers bands to hold the towels in place and leave for at least an hour (up to three hours if there is a lot of buildups)
- Remove the paper towels; you should see the difference right away. Wash the faucets to get rid of all the vinegar and dissolved calcium using dish soap and a sponge or toothbrush.
Method two
- The first method will not get rid of calcium buildup that is clogging the faucet or around the aerators. To clean the inside of the faucet, you need a different method. This method is good for cleaning faucets, aerators and showerheads.
- Fill a sandwich bag with vinegar and lift the bag until the tip of the faucet is submerged inside the vinegar. You may have to squeeze the bag slightly to ensure the entire area is covered. Secure the bag with rubber bands and leave it in place for 1-3 hours. Clean the faucet afterwards with soap and a sponge (check method one).
Method three
- This third option is for an even deeper clean. For this method, you need to disassemble the faucet. Only the faucet spout and aerator need to be removed; the base of the faucet can be left in place. If necessary, use the wrench to loosen the faucet (wrap the faucet in cloth before using the wrench to avoid marking the surface).
- Pour a generous amount of vinegar inside a plastic bowl and place the scale-covered parts you removed from the faucet inside. Let the pieces sit there for 1-3 hours. Remove them and scrub them clean using a toothbrush or a hard sponge. Wash the parts and wipe them dry before replacing them.
And that is it. By now, your faucets should appear as good as new ones. Do this at least once a year to keep the faucets in your home looking clean and attractive.