
Try to say sump pump as fast as you can. It sounds a bit silly, doesn’t it? Well, whatever the case, you’re going to hear that one a lot today. That’s because we’ll introduce you to some tips on how to make sure your sump pump is ready for spring. Since everyone’s favorite season is almost here, there’s no reason why one should delay handling their sump pump just so they don’t have to worry about nasty spring floodwaters. Therefore, stay tuned for some info that will prove to be quite handy once spring arrives at your doorstep.
What is a sump pump?
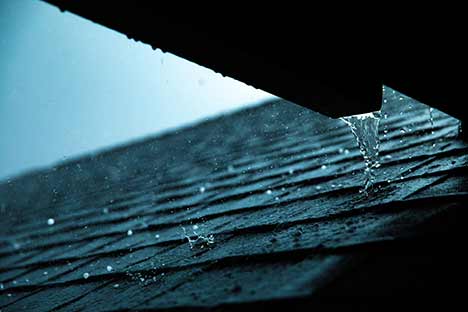
We’re guessing everyone’s aware of what a sump pump is. Still, it’s nevertheless essential that we consider why this device plays a crucial role in our households. It greatly decreases the risk of water damage to your home’s lowest (underground) section. If there is excess water in the ground surrounding your home’s basement, the sump pump will push the water up and direct it away from the house. This excess water might usually come from heavy rain or melting snow in the spring, and basements are very susceptible to experiencing some water damage. Therefore, sump pumps prevent some major issues in your living space.
And how does a sump pump work exactly?
Here’s how a sump pump functions: it gathers groundwater in a so-called sump tank. Folks also call it a basin or crock, or pit. Once the water level inside the tank reaches a certain level, the foot will travel up to a float rod. This will activate the pump motor, deal with all the water inside the tank, and direct it away from your home. Simple as that!
As we’ve said, a sump pump is necessary once spring arrives at your doorstep. Here’s how you’ll get it ready for springtime!
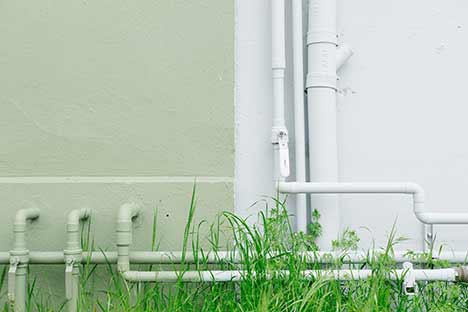
Take a close look at the discharge pipe
Here’s the thing: some of these pipes will lead to the sewer system, while most won’t. If your discharge pipe doesn’t have an outlet in your yard, you will have to contact a nearby plumber to inspect the pipes and see if there are issues that need to be taken care of. If you have an outlet inside your yard, make sure there aren’t any visible traces of debris or blockage. We’re talking about mulch, mud, stones, or even rodent nests. You’ll want to ensure that the water has no obstacles while “running away” from your home’s foundation.

Put your sump pump to the test
Don’t worry, as this is quite simple to do. All you’ll need for this test is a single bucket of water. You’ll want to pour just enough of its contents into the pump to lift the float valve. Make sure that it’s turned on. To guarantee your sump pump is doing its best to drain the water in the fastest manner possible, continue to add more water into the pit. Check if it drains at a rate you find reasonable.
Ensure that the sump pump is standing upright
Whether we’re talking about a pedestal or submerged sump pump, you’ll want to ensure that it is standing upright. That’s because the vibrations it gives off while it’s working might cause it to fall or tilt onto one side. This will, in turn, block the float arm causing it to fail to activate the pump.
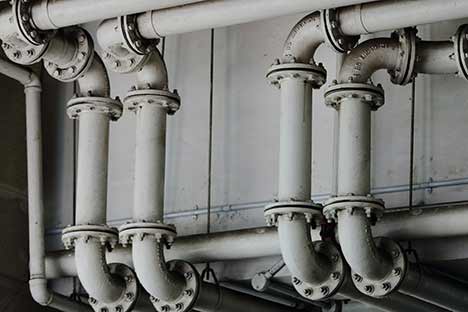
See that the outlet pipes are alright
We’ll be quick here. Just make sure that the outlet pipes are tightly joined together as they should be. Also, you’ll need to guarantee that they’re draining out at least about twenty feet away from your home’s foundation.
Clean the grate you’ll find on the bottom
Another thing you can do to make sure that your sump pump is ready for spring is to remove the submersible pump from the pit and clean out the grate you’ll find on its bottom. This is very important since the pump’s sucking action might “attract” smaller stones and various debris into the grate. This issue might result in significant long-term damage to your sump pump.
Check the check valve
Check the check, get it? Never mind. However, forgetting to inspect the check valve is not even remotely funny. You’ll need to ensure that your sump pump has a 3/16 relief hole located in the pipe that connects it with the check valve. Why’s this so important? Well, it will help you avoid vapor locks. Also, it will prolong your sump pump’s lifespan.
Is everything OK with the float?
Lastly, make sure to inspect the float. If you notice the water doesn’t flow freely away from the tank, it might be time to contact professional plumbers. Also, to get everything ready before they arrive, you’ll probably need to move some of your home’s inventory to storage, advise the folks over at Professional Movers Ottawa. Just so you don’t have to worry about any of that stuff ending up damaged.
Replacing an old, faulty sump pump
You might be wondering when’s the right time to replace a faulty sump pump. Unless we’re talking about a simple repair, simply replacing one of the parts of the pump most probably won’t be worth the price or the effort. An old, faulty part will signal that your sump pump is in its golden years. There’s a good chance the rest of its parts will follow in the same footsteps pretty soon. Therefore, it’s best you replace it to make sure your sump pump is ready for spring or any other season of the year.
How long will a sump pump last?
Remember that your ordinary sump pump will last about ten years or so. Once it has passed this point, you can expect it to fail in the following months or, rarely – years. If everything goes swell, you make sure your sump pump is ready for spring each year. Lastly, the replacement process isn’t easy, so you should opt for plumbing pros to help you out.