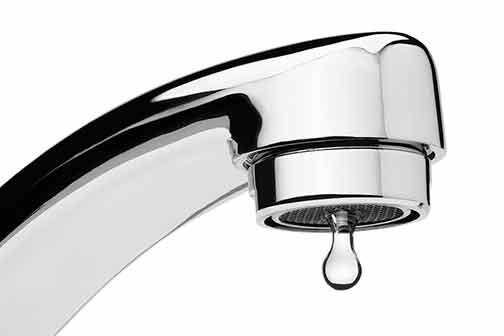
It doesn’t matter what plumbing fixture is leaking in your establishment or home; fixing even the slightest damage in your plumbing systems will prevent high water bills and further damage that can be expensive to repair. As an establishment and homeowner, it is your responsibility to check the quality of your plumbing regularly. Installing drywall access doors and panels will allow easy access to these vital fixtures.
One of the most common issues in plumbing systems is faucet leaks. It can be a leaky faucet if you’ve noticed water pooling under your sink or the annoying, dripping sound distracting your peace. It can turn into a full-blown problem if not addressed properly. Fortunately, learning how to fix a leaky faucet can be surprisingly inexpensive and straightforward.
What Causes Faucets to Drip?
We will show you how to fix two types of sinks: cartridge and compression for this article. A compression faucet contains rubber washers to seal the valve seat, which can wear out and need to be replaced. With the cartridge, either the O-ring or neoprene seal can cause the leak, needing replacing.
But before you proceed to fix the leak, you need to turn off the water supply first. Ensure to turn off the water to the faucet at its nearest point, right below the sink. If you still notice continuous water flow, turn off the main water shut-off valve to the entire establishment or home.
Pieces of equipment You’ll Need
- Adjustable wrench
- Channel-lock pliers
- Flathead screwdriver
- Set of Allen keys
- Phillips-head screwdriver
- Knife
Materials
- Replacement faucet cartridge (if required)
- Silicone faucet grease
- Kit of assorted stem washers and screws
Fixing a Leaky Cartridge Faucet
Step 1. Remove Screw Handle
After turning off the water and plugging the sink drain, remove the faucet handle. There will be a hex screw located on the back or side of the handle. Gently insert the tip of the Allen key into the screw and turn counter-clockwise. Pull out the screw and set it safely aside. After this, start removing the handle.
Step 2. Loosen Retaining Nut
A thin retaining nut supports the cartridge in place. Attach the adjustable pliers on the retaining nut. Twist counter-clockwise to loosen the nut. Remove them by turning them the rest of the way using your hands.
Step 3. Remove Sink Cartridge
Hold the top of the sink cartridge and pull it up to remove it. You may need to wiggle the cartridge to loosen it before releasing it gently.
Step 4. Apply Silicone Grease
Using your fingers, apply an ample amount of silicone faucet grease to the body of the replacement faucet cartridge.
Step 5. Insert Replacement Cartridge
Ensure to align the tabs of the replacement cartridge with the slots on the faucet. Gently glide the cartridge straight down until it fully seats. By using the wrench, start applying the retaining nut. After, install the faucet handle again with the Allen key and screw.
Step 6. Test Water Flow
Once finished, you can now turn on the water supply valves. Allow the faucet to run for about a minute, then shut it off again. Check for any signs of leaks. If leaks are still present, you can try re-doing the process again or calling a professional for assistance.
Fixing a Compression Faucet
Step 1. Remove the Handle
Turn off the water supply and stop the drain before beginning the task. Remove the faucet handle with the Phillips-head screwdriver or nan Allen key. Suppose your faucets have a decorative cap over the screw. It would be best to detach this cap with a flat-head screwdriver or a utility knife. Afterward, unscrew the handle and set it and its screw aside.
Step 2. Remove the Valve Cover and Valve Stem
The valve stem assembly may contain a cover over it. You can remove this by unscrewing the knob using pliers. After the removal, grip the hex head of the valve stem assembly with the pliers. Start turning it counter-clockwise for removal. Using the Phillips-head screwdriver, remove the screw that holds the stem washer in place.
Step 3. Remove and Replace Stem Washer
Firmly place the newly purchased stem washer on the valve stem assembly. Screw the screw and washer over the top. Tightly place the new stem washer on the valve stem assembly. Once done, screw the washer and screw over the top.
Step 4. Assemble Faucet
Replace the valve cover if necessary. Start attaching the handle, and don’t forget to add any decorative caps over the top if you have one. Don’t forget to test your faucet by turning on the water below the sink and letting it flow for at least a minute. Turn off the faucet and scout for any signs of leaks.
If you’re not familiar with any of these tasks, you can always contact a local plumber to help you with this minor issue. It is crucial to have the necessary tools and guidance in addressing issues that include the vital components in your building.

