
Read on about some essential water heater maintenance tips. Water heater failures are among the most annoying problems you can have in your home. Imagine waking up on a cold morning to get ready for the day. You step into the shower and turn on the water, expecting refreshing warm water, but only to get drenched in freezing cold water. Or even worse, scalding hot water comes from the shower head.
These scenes unfold daily in homes across America, and they often seem to happen without warning. But a water heater will usually give you signs before it malfunctions. Those minor issues will become major problems if they are not identified and properly addressed, warns House In Order. Good maintenance can prevent water heater failure.
What steps can you take to prevent water heater damage and protect yourself from the dangers of a malfunctioning water heater? This post will answer that question. Below you will find all the important tips for keeping your water heater in the best condition. Following these tips will help to cut the water heater’s energy consumption and prolong its life.
Essential tips for maintaining your water heater
How you maintain the water heater depends on the type of water heater you have in your home. There are two types of water heaters: tanked water heaters and tankless water heaters. This post focuses on tanked water heaters. Tanked water heaters may be powered by gas or electricity, but beyond this, they are essentially the same in the way they function.
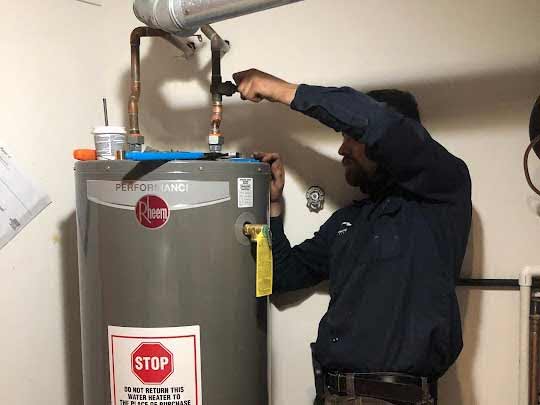
To get the best performance out of the unit, your water heater should be serviced at least once a year. You can do some maintenance steps yourself, but a few will require hiring an expert. Working with water heaters may expose you to the risk of electric shocks and carbon monoxide poisoning. Hire a water heater expert if you need help with the steps below.
-
Step one: Turn off the water heater
For gas water heaters, shut off the gas supply by moving the lever until it is perpendicular to the pipe. Next, set the water heater to the pilot setting and turn the gas control off. Now turn off the cold water supply. For electric water heaters, unplug the unit from the wall or switch the circuit breaker to the ‘off’ position. After you do this, turn off the cold water supply.
-
Step two: Check for leaks
Remember that the water inside the tank is still hot; be careful when working with the tank. Check the inlet/outlet pipes, temperature relief valve, and drain valve for signs of leakage. Feel for dampness around those places where pipe meets pipe, or the pipes enter the tank. Condensation around threads or on the body of a pipe means there is a leak. If there is a leak, you may have to replace the part.
-
Step three: Ensure proper airflow
Water heaters should be installed in areas with sufficient ventilation. Check the area to make sure there are no items near the water heater that can obstruct airflow. Standing pilot water heaters have a flame arrestor screen where air enters the system. This often gets clogged with dust and debris. Clean this area with a multi-use cleaning brush. Next, clean the area around the flue vent to get rid of dust.
-
Step four: Test the TPR Valve
The TPR (temperature and pressure relief) valve protects your water heater from extreme temperature and pressure. If the water pressure and temperature inside the tank get too high, the valve opens to release water and keep the tank from exploding. To test the TPR valve, place a bucket under the drain tube and open the valve by raising the lever. This should release water from the tank. Now close the valve; the water should stop completely. If it doesn’t, you need to replace the valve.
-
Step five: Inspect the anode rod
Open a hot water faucet in the house and place a bucket under the drain valve. Open the drain valve to release some water and release the pressure inside the tank (leave most of the water inside the tank). The anode rod can be found on the top of the tank, often under a plastic cover. Remove the anode rod and inspect it. If it is fully encased in calcium or you can see the bare steel core, the rod needs to be replaced. Typically, the anode rod will last 3-6 years, depending on the chemistry of your water.
-
Step six: Flush the water heater tank
You should flush your water heater tank once or twice a year (the frequency depends on the pH of the water in your area and its purity). Flushing the water heater will get rid of the sediment inside the tank. To flush the water heater, connect a garden hose to the drain valve and open the valve until all the water drains out. Fill the tank with cold water and repeat the process until the tank is clean. If you are not sure how to do this, please call a professional plumber.
We hope you found this article on essential water heater maintenance tips helpful!